MetaHuman
Copresence scans can be exported to the MetaHuman character platform of Unreal Engine. Depending on the Unreal Engine version you are using in your project, we support two different workflows.
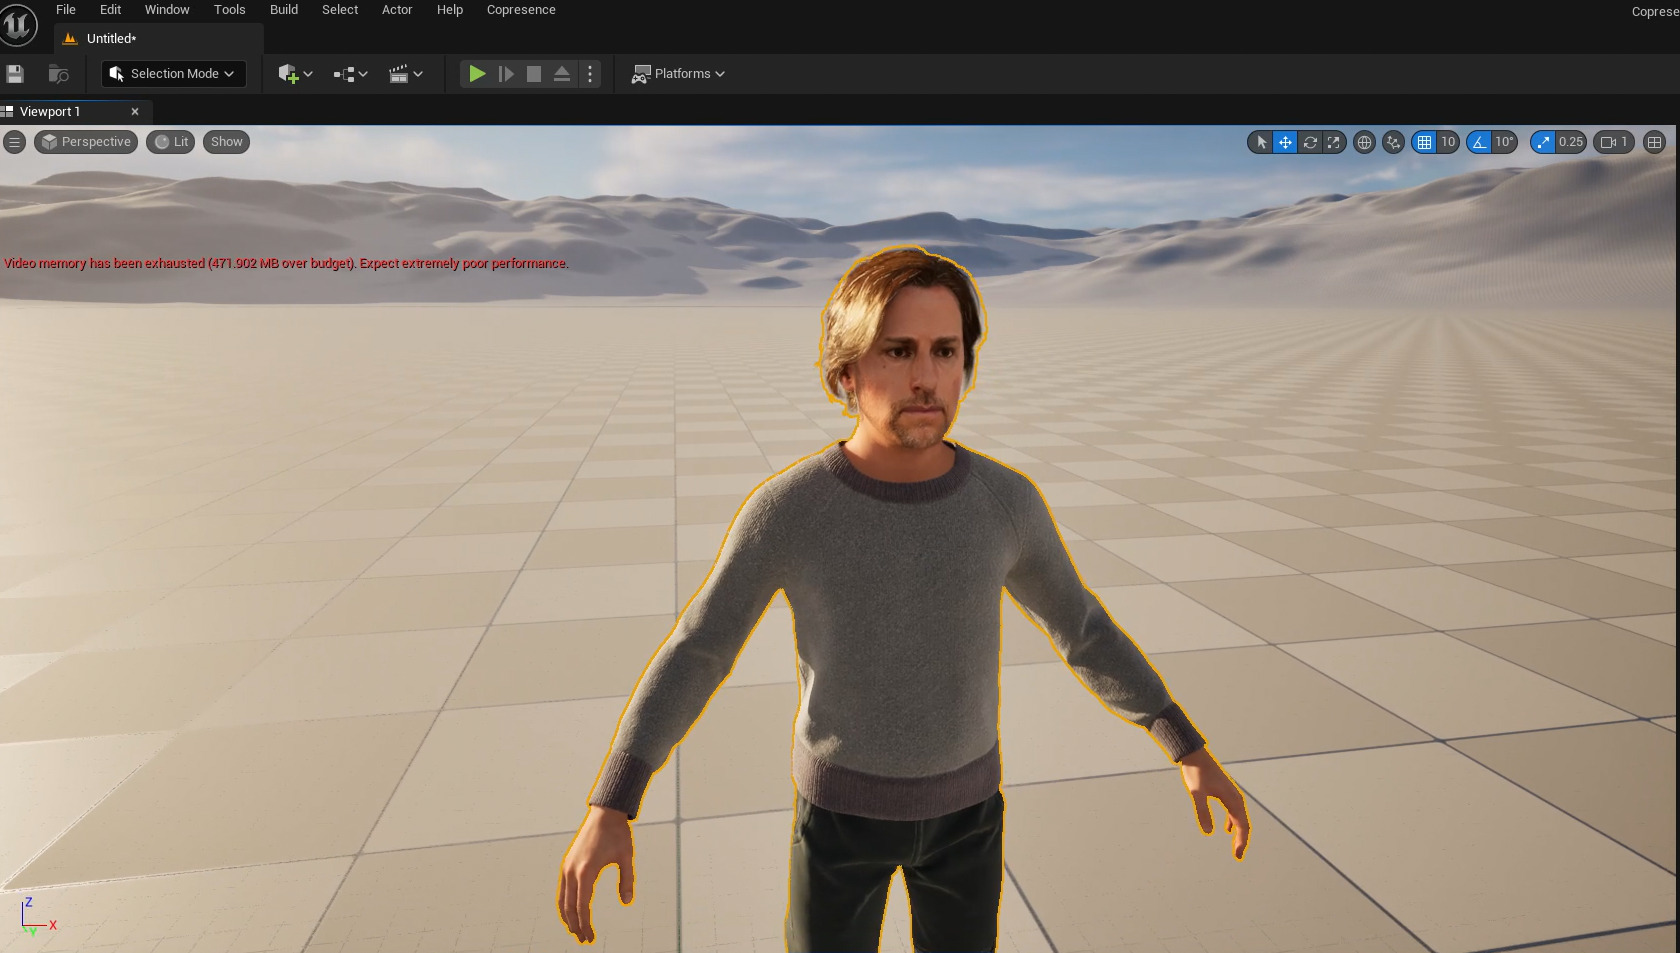
Copresence scans can be exported to the MetaHuman character platform of Unreal Engine. Depending on the Unreal Engine version you are using in your project, we support two different workflows.