Character Creator
This tutorial shows the basic import of Copresence avatars into Character Creator.
Import steps
Unzip the downloaded archive
In Character Creator: Click File->Import->Import and navigate to the extracted folder and import the
avatar.fbx
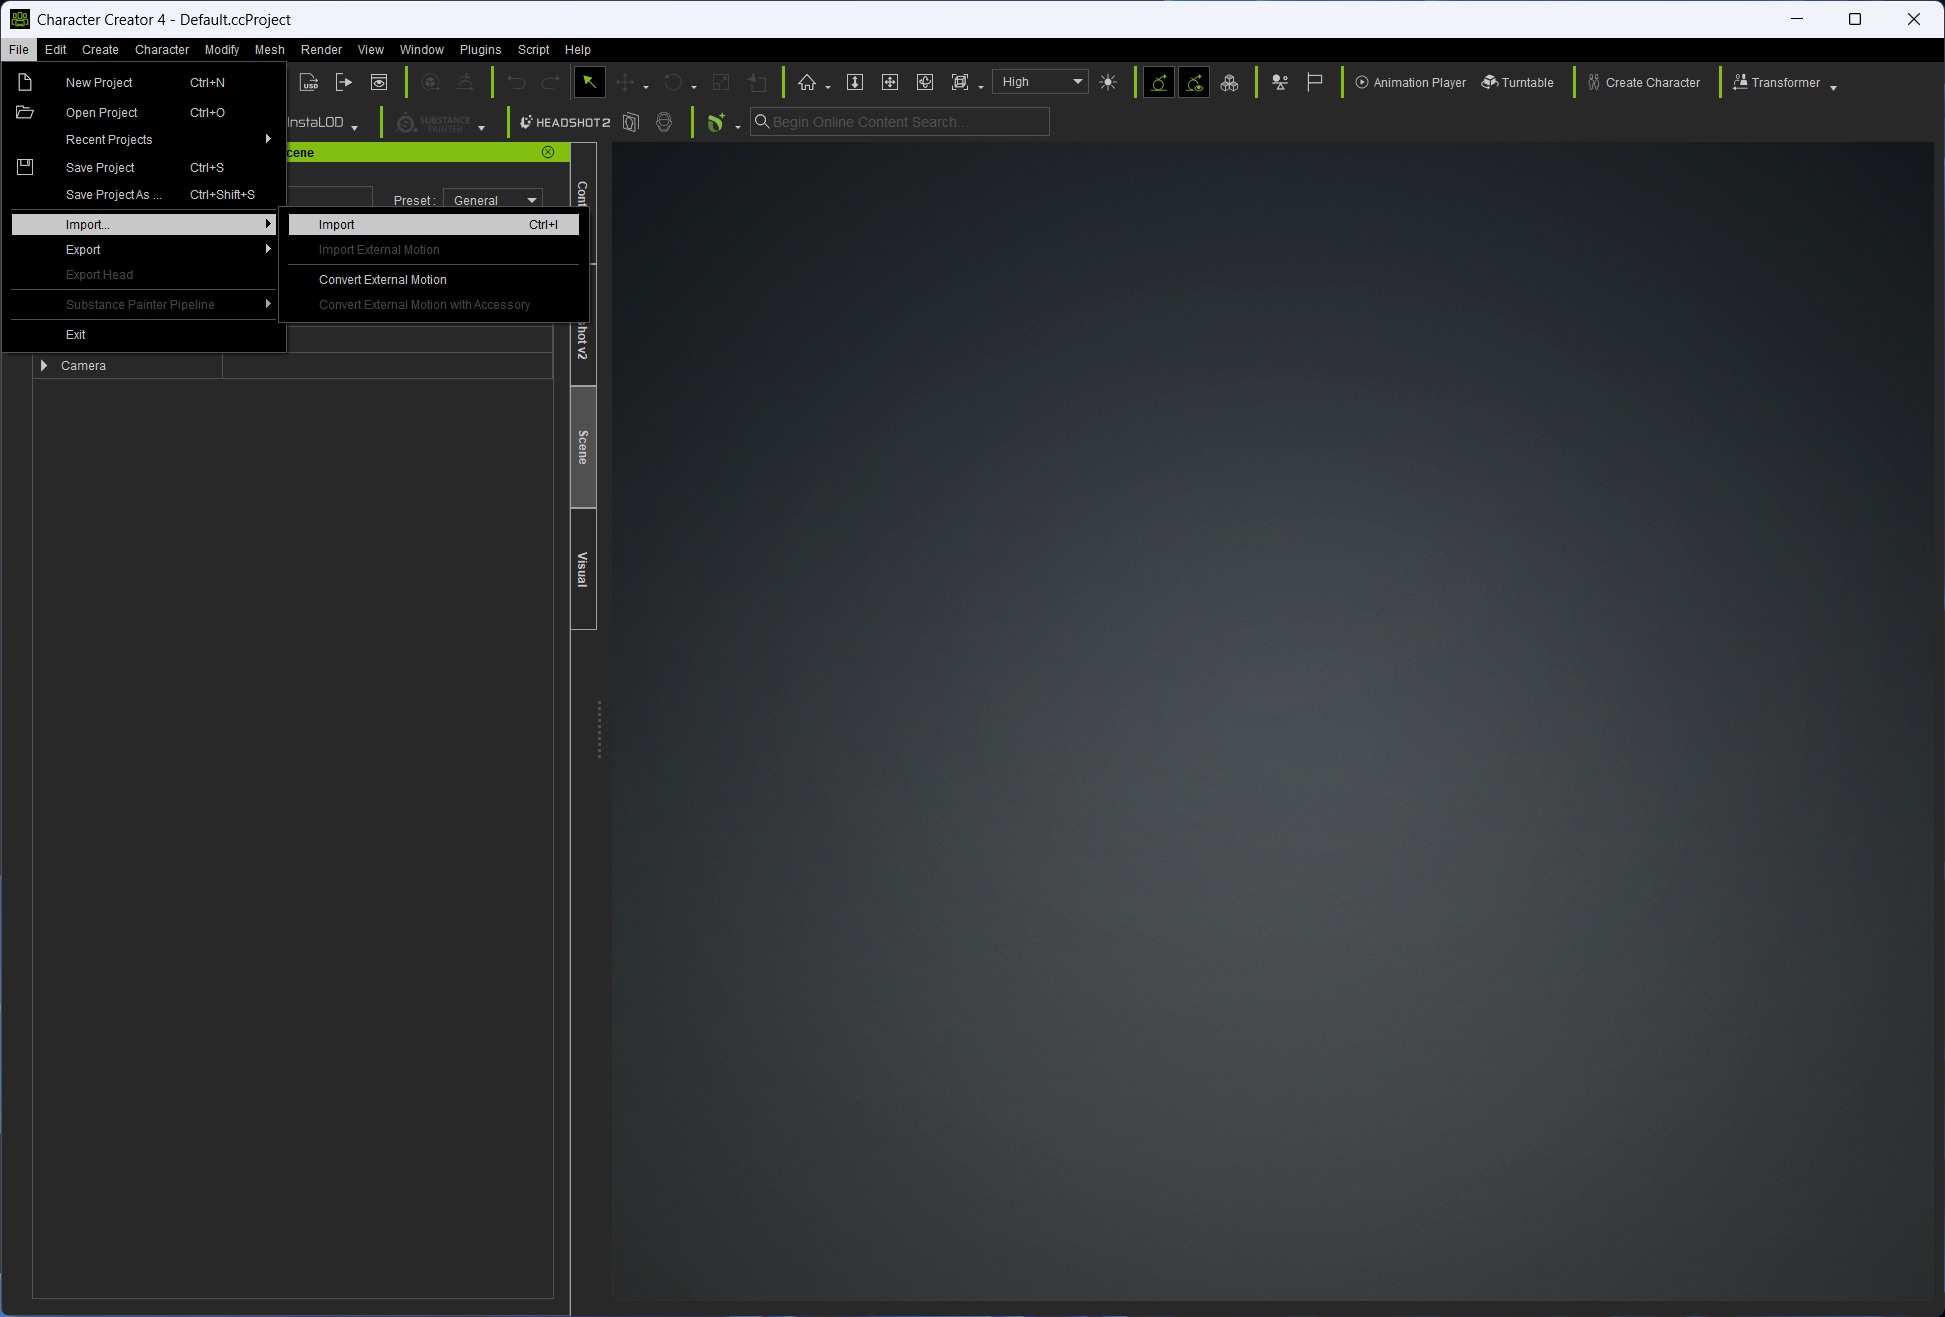
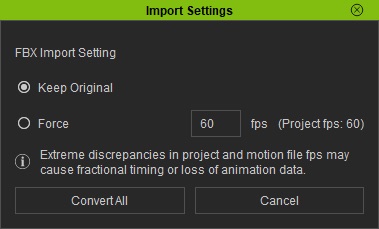
In the pop-up click Prop and for the import settings select keep original then click convert all
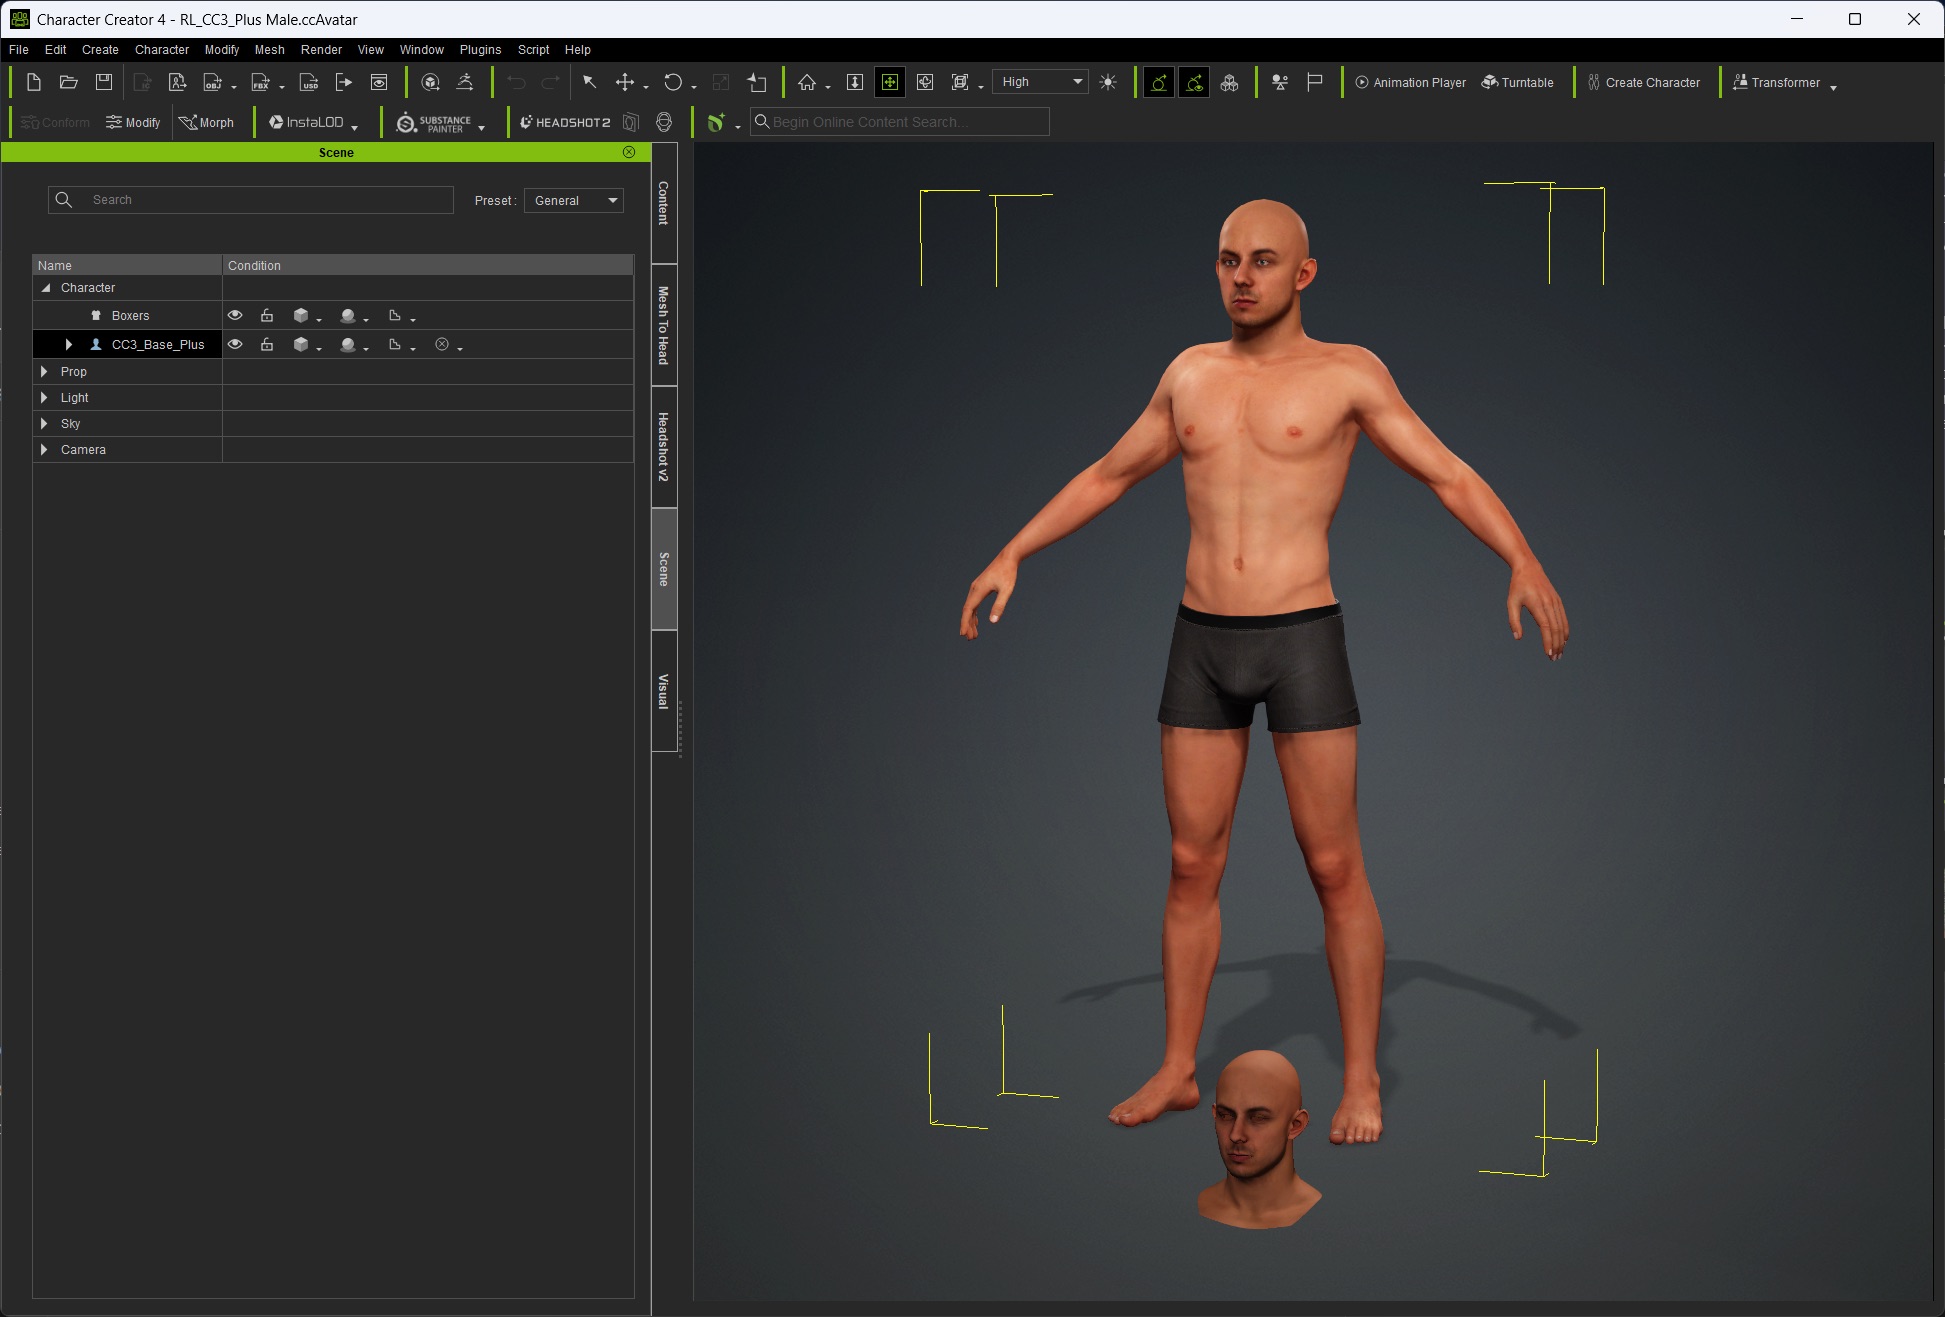
In Character Creator click on Scene and select the RootNode
Click Headshot2, select the Mesh option and Start Head Generation
In the Mesh to Head menu - just above the ALIGN POINTS tab click load and navigate to the extracted folder from the beginning and select the
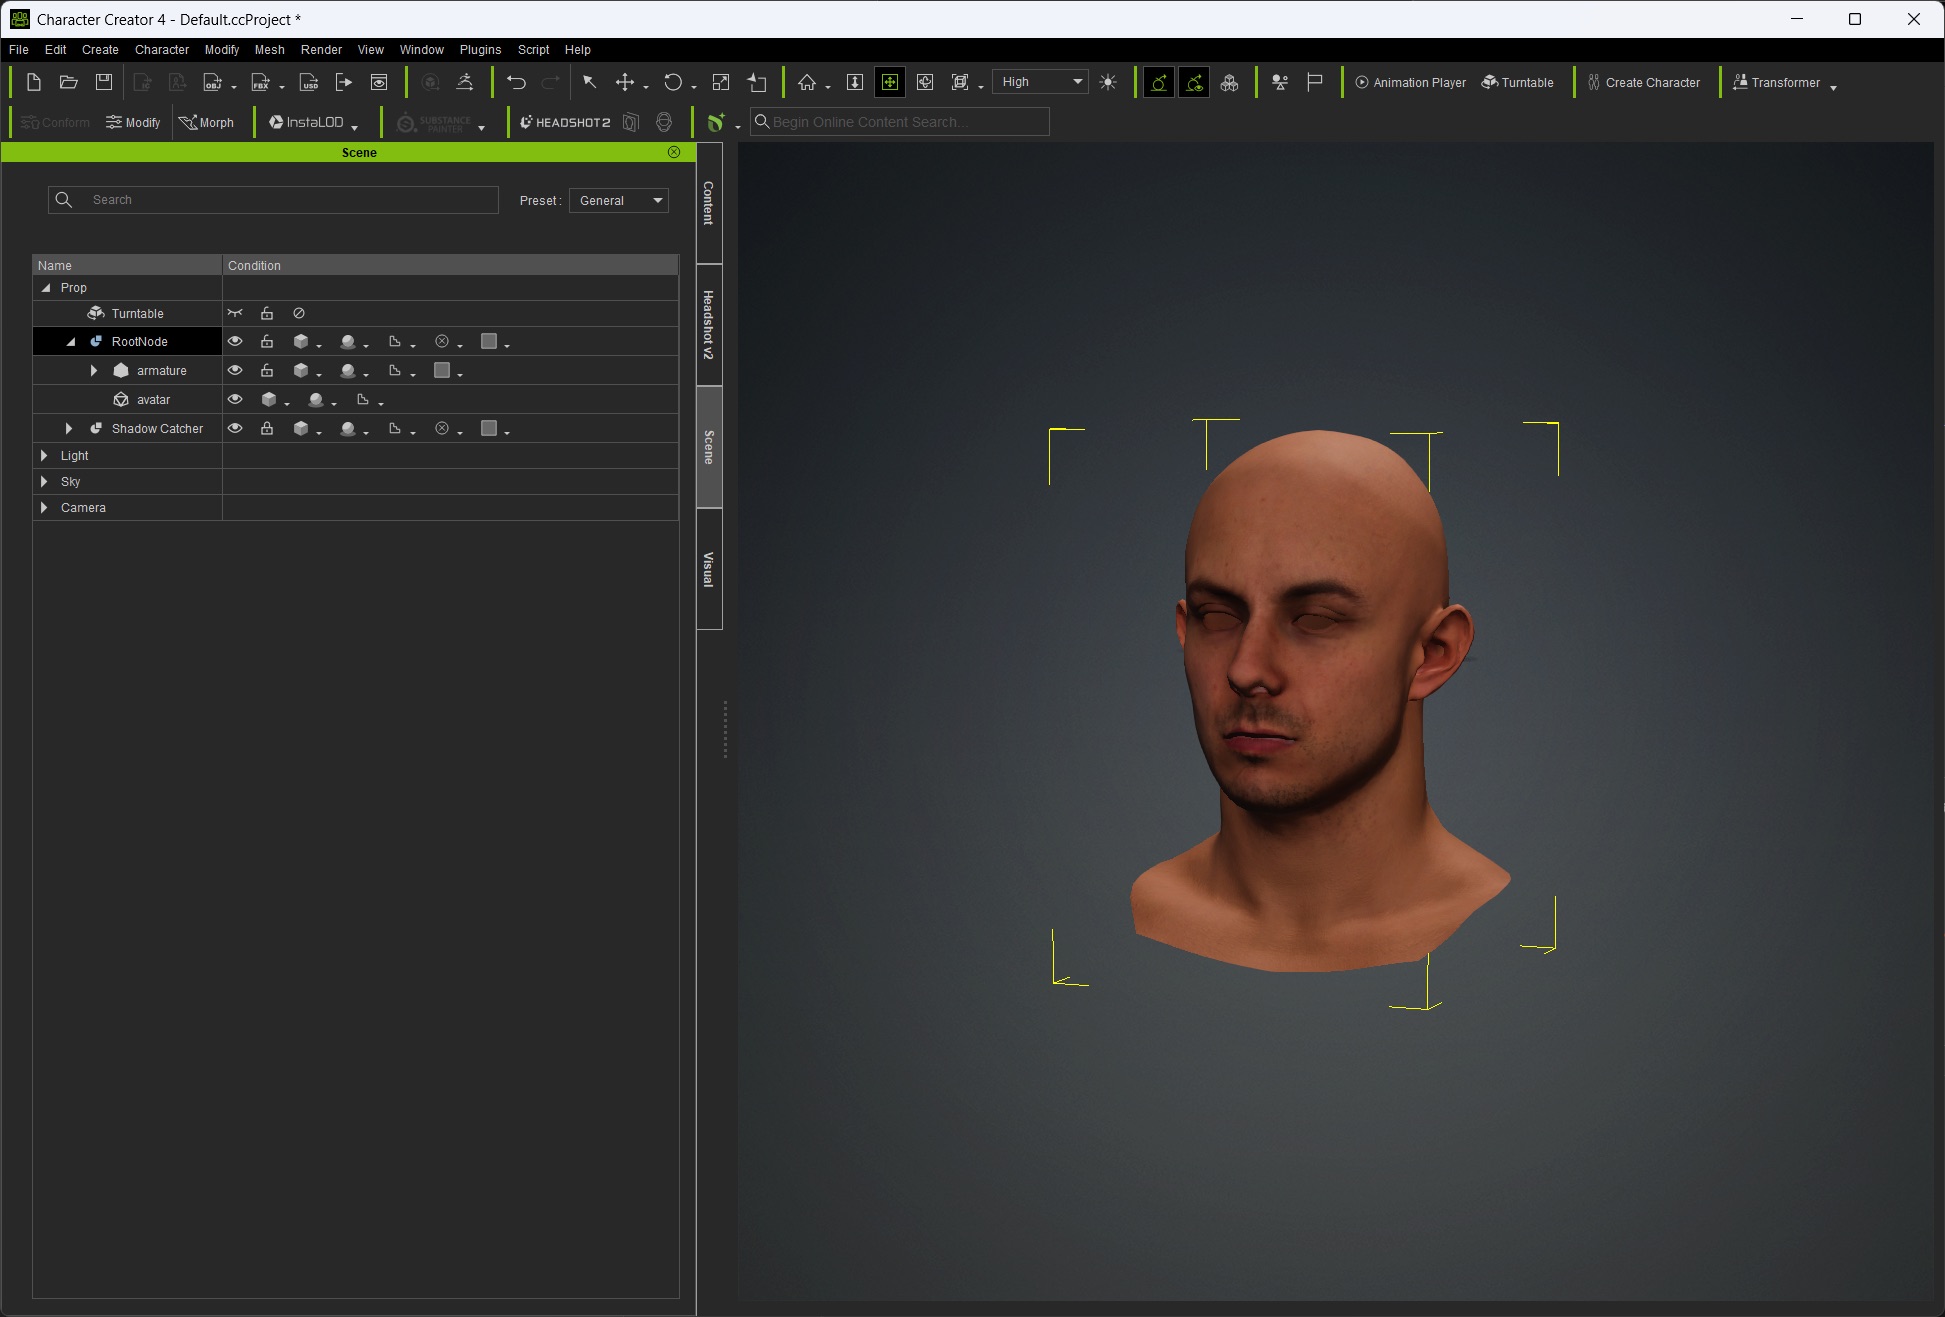
cc_mapping.inifileThe alignment and imported head should look similar to this
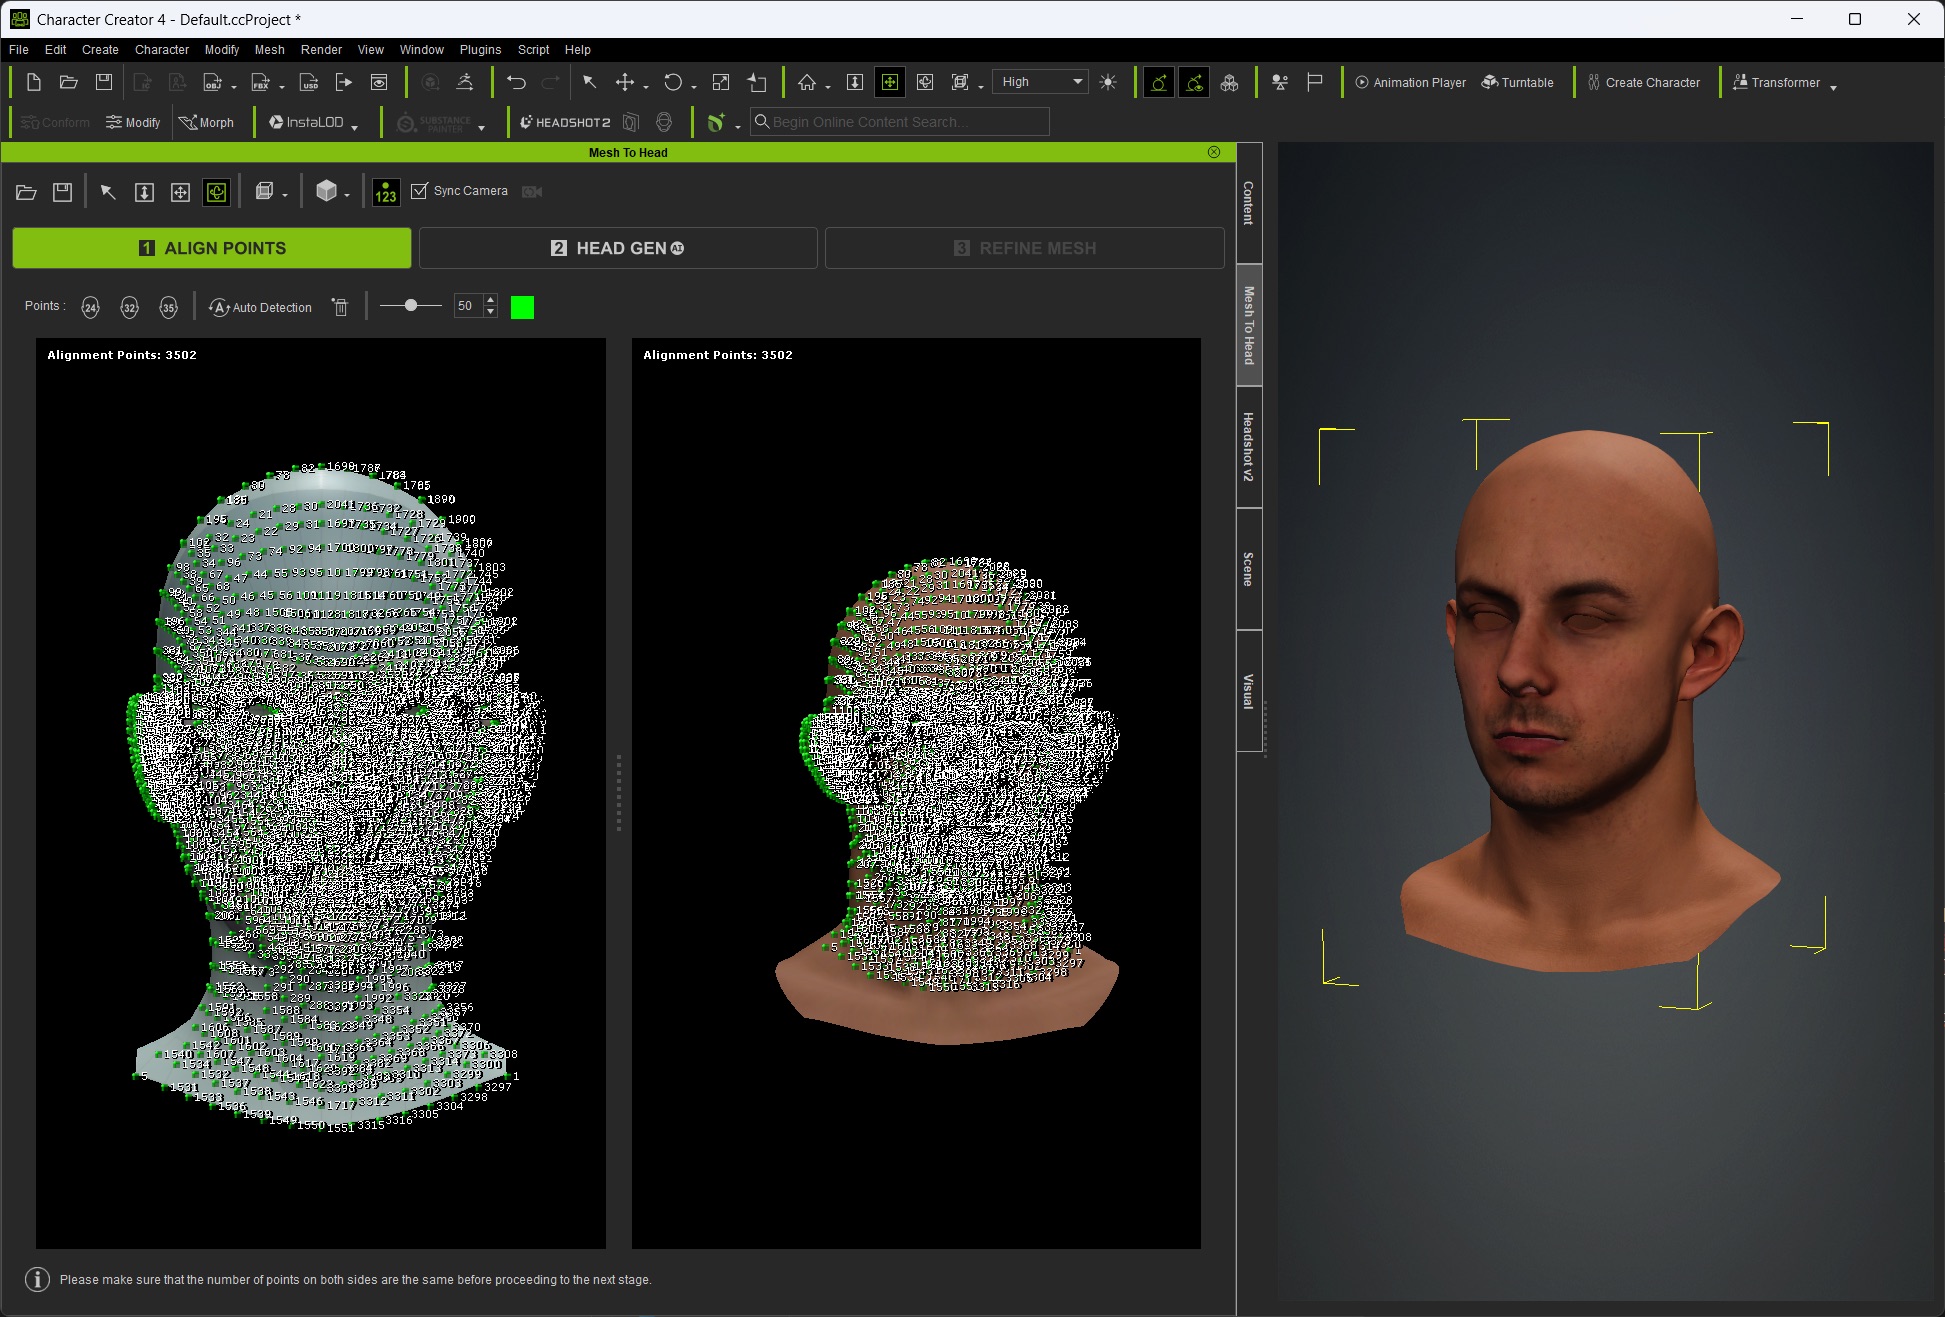
Then click the next tab HEAD GEN then REFINE MESH. With the predefined mappings the fit of the Copresence head should be very close to the Character Creator mesh, thus you do not need to sculpt or align it manually.
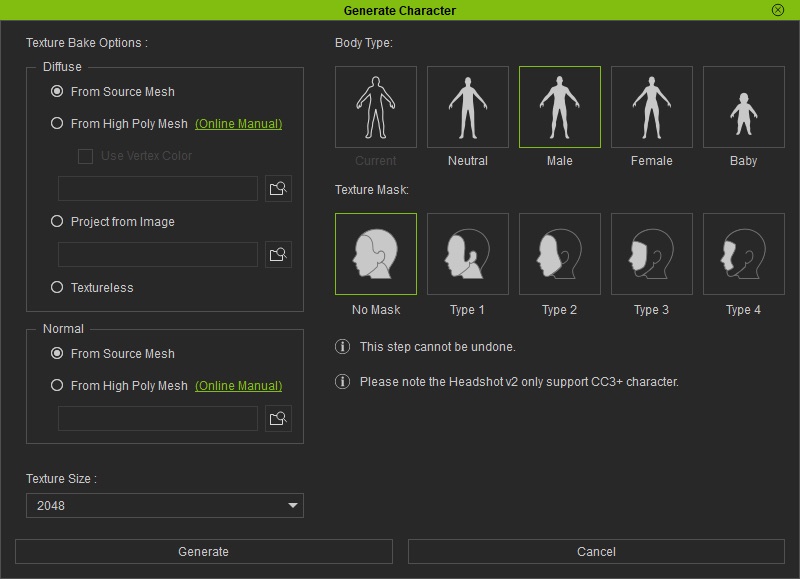
Then click ATTACH TO BODY in the lower right corner. A menu should pop up select the desired Body Type and leave the other settings as they are then click Generate
Now your scene should have a character and the base head originally imported. You can continue modifiying your character as usual.
Enjoy your Copresence avatar as a character!